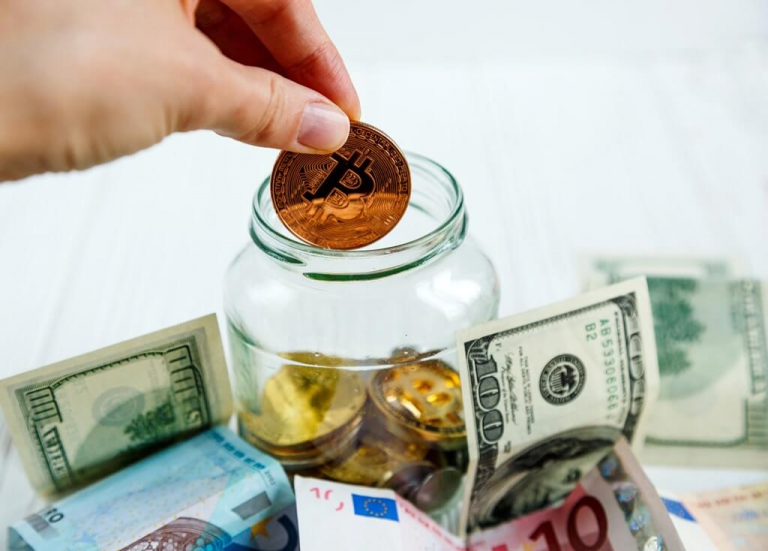
Looking to create a crypto wallet that enables you to store, send, and receive crypto currencies?
Well, MetaMask is one of the most secured and popular crypto wallets in the world.
It is an easy-to-use digital wallet available for all major browsers and devices.
The best part is that you don’t need any coding or technological knowledge for setting it up.
That’s why in this article, we’ll provide you with a step-by-step demonstration of how to create your MetaMask wallet from scratch and make it big in the DeFi world.
But first, let’s understand what exactly a MetaMask wallet is.
Let’s get started.
What is MetaMask?
In a simple world, MetaMask marks the beginning of your crypto adventures.
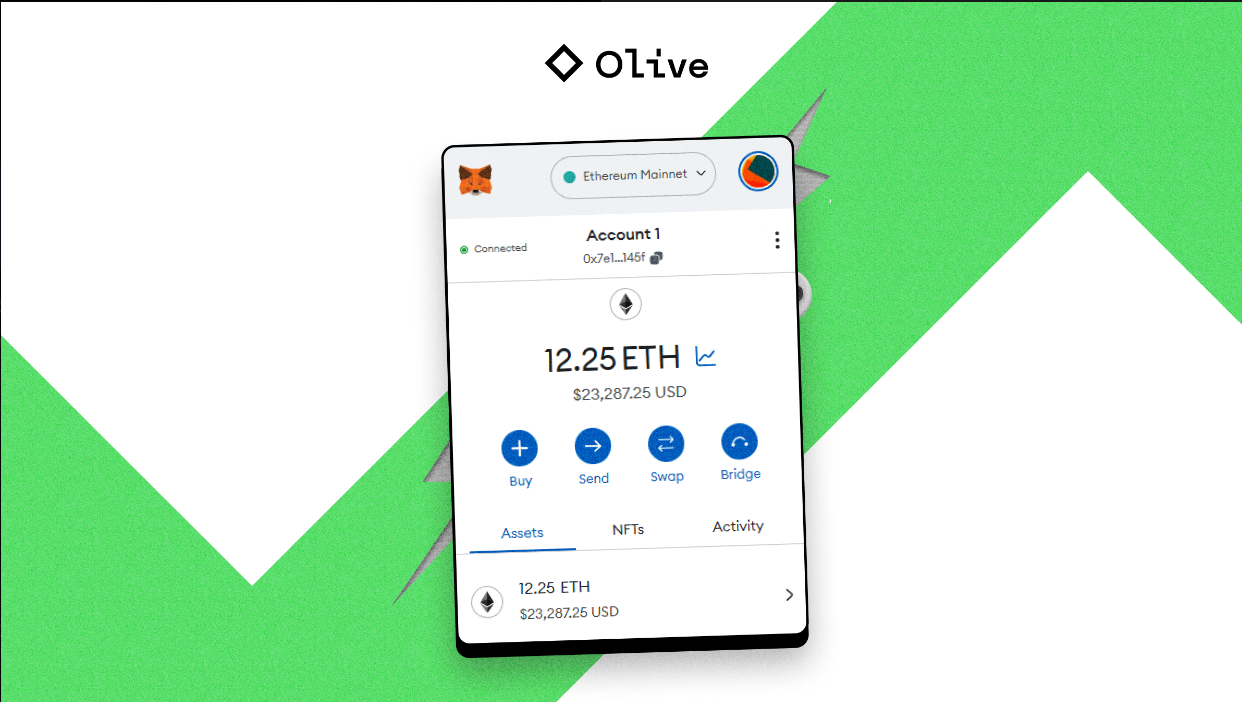
MetaMask is a wallet and browser extension that allows an user to deal with ETH and other ERC20 tokens.
This wallet works like any regular online wallet but with advanced security features.
You can use MetaMask to store, manage, and exchange a variety of digital assets.
It also allows you to interact with a plethora of Decentralized applications (dApps) in the Ethereum blockchain.
Now that you know what it’s all about, let’s help you create your MetaMask wallet!
How to Setup MetaMask Crypto Wallet?
MetaMask is a free wallet service available both as a smartphone app and browser extension.
That means you can directly add this extension to your Google Chrome browser.
This extension is also available for different browsers such as Microsoft Edge, Brave, Mozilla Firefox, and more.
We have based our tutorial on Google chrome since it’s one of the most used web browsers. The steps are almost the same for other browsers.
Let’s get started.
Step 1: Install the MetaMask Extension
Just type ‘MetaMask extension for chrome’, when you find it click >> Add to Chrome to install the extension.

Then select >> Add Extension from the dialogue box.
After you’ve installed the extension, click >> extension >> pin for a seamless experience.
That’s all. Let’s move to the next part.
Step 2: Create Your MetaMask Wallet
Once you install the MetaMask extension, you’ll get 2 options:
- Create a New Wallet: This is for first time users looking to set up their MetaMask wallet.
- Import an Existing Wallet: This is for existing users who already have a MetaMask wallet looking to import their wallet into a new device.
Select >> Create a New Wallet to set up your account from scratch.

A short disclaimer appears. Click >> I Agree to move onto the next step.
You’re doing great, let’s move on.
Step 3: Setup Your Password
Create your password that’ll provide you access to your MetaMask wallet from your device.
Please note that MetaMask cannot recover your password and you need to set it up from scratch once you access MetaMask from a different or a new device.
Select >> New Password to enter your password. Make sure you select a strong password and select >> Confirm Password and to proceed.
Select >> Create a new wallet to proceed to the next part.

Step 4: Confirm Secret Recovery Phrase
This is the final step of creating your MetaMask wallet.
It starts with a screen that outlines what exactly a secret recovery phrase is.
You will simply get 12 random words and you should copy it down preferably in a piece of paper.
You need to enter these random words in the exact manner to complete setting up your account.
In case you lost your device where your MetaMask wallet is or simply connecting your wallet to a new device, you need to enter these words in the exact sequence.
Never share these recovery words with anyone. It’s like an OTP and if someone asks for it, that person is probably a scammer.
MetaMask will now prompt you to type the 12-word sequence to activate your wallet.

Yes, you have successfully created your MetaMask wallet.
We know you’re excited now and so we will move to the next part and will demonstrate how to buy cryptos using your MeatMask wallet.
Let the crypto adventures begin.
How to Buy Cryptocurrencies Using Your Crypto Wallet?
You can now buy tokens using your MetaMask wallet. Before we show you how to do that, you need to add funds in your MetaMask wallet. ‘
Don’t worry! It’s super easy and we have you covered.
You need to do the following:
Click on the MetaMask extension >> Network >> Buy :

There are various networks to choose from and we have selected Arbitrum because we will also show you how to buy tokens in the Arbitrum network in the later part of this article.
You can explore other options by simply clicking << Add Network

The next part is selecting your region from the dropdown:
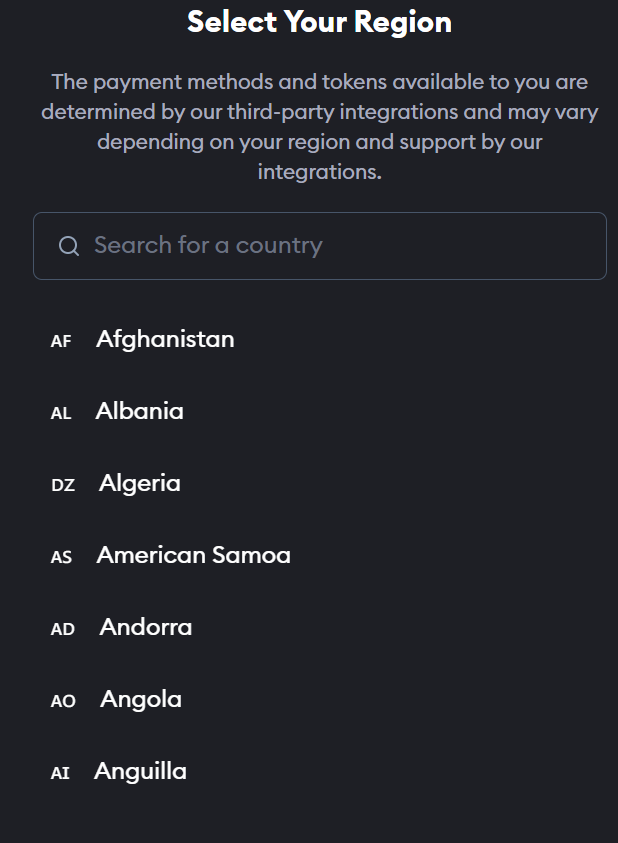
After you select your region, you’ll be shown a list of payment methods available in your region.
Select the most appropriate one and click >> Continue:

As you can see above, there are multiple payment options including Debit or Credit Cards.
You can now select the token you want to buy, like we have selected Ethereum (ETH). After that, enter the amount of your choice.
All done select << Get Quotes:

Once you select a quote, you’ll receive quotes from MetaMask’s trusted providers like Moonpay
Select the >> Buy with <provider name> and proceed.

Once you’re redirected to the provider, you need to complete some verification. The verification parameters vary from providers to providers.
But it’s very simple. Mostly, you need to fill up your basic details to create an account. And you’re set.
Once the verification is completed, you can complete the payment to buy ETH using your Debit or Credit card.
Once you purchase ETH, you can invest it immediately and start earning YIELDS!
Note: Just like you purchase ETH, you can purchase any other ERC20 compatible token of your choice.
How to Use Your Cryptocurrencies on MetaMask to Earn More?
Your MetaMask wallet is all set and you have fresh funds to explore now.
That means you can start earning humongous money with crypto investments.
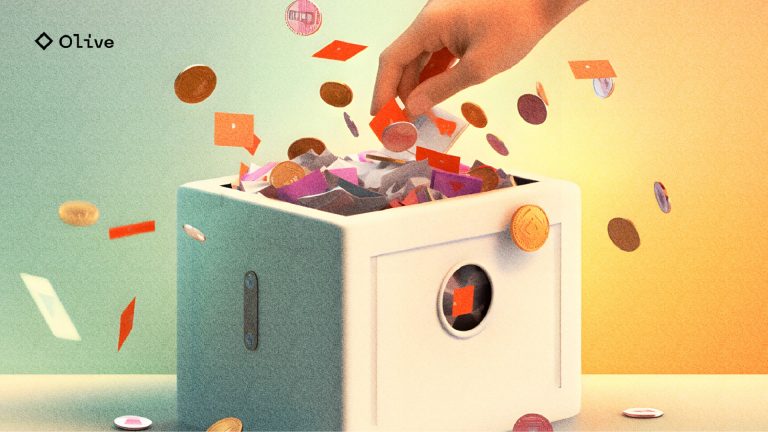
First, you need a reliable partner just like Olive.
Olive is a multi-chain protocol that leverages structured products or strategies to offer jaw-dropping yields without compromising your principal.
That means, if you invest 100 tokens with Olive, no matter what, you’ll get the same 100 tokens back at any point of time + extra yields on top of it.
Isn’t that awesome?
Furthermore, it’s absolutely safe, unlike what you usually keep hearing about crypto investments.
Olive has undergone a comprehensive audit by PeckShield to mitigate smart contract risks
Isn’t that super awesome?
Now let’s help you start earning real yields with Olive.
Step 1: Connect Your MetaMask Crypto Wallet
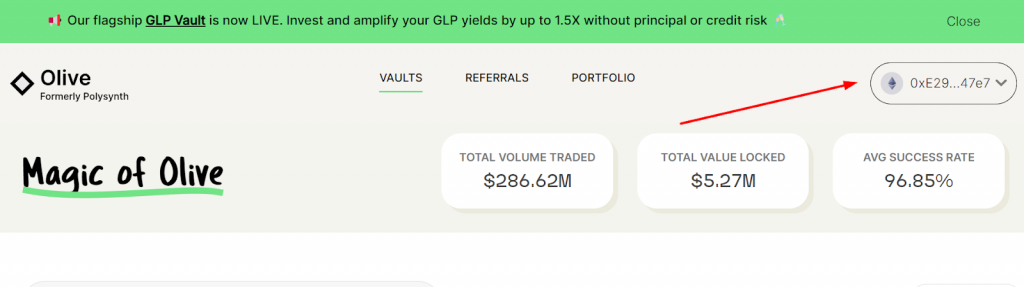
Visit https://oliveapp.finance/ and click >> Launch App:

Then you’ll be redirected to the vaults page where you’ll find flagship vaults with jaw-dropping returns.
But before we dig deep into that, you need to connect your wallet.
On the top right corner click >> Connect Wallet

A box will appear on the screen with different wallet options.
Select MetaMask to proceed.
Your MetaMask wallet is now connected:
Step 2: Buy Tokens!
You’re now just one step away from unlocking the world’s #1 scope for passive income.
Simply select your favorite principal-protected vaults to proceed.
Here, we have selected GLP because it has consistently given IMMENSE RETURNS to users. And it’s still going strong.
Select >> Buy GLP to proceed:

You’ll be then redirected to the GMX page from where you can buy GLP tokens.
Step 3: Connect Your MetaMask Wallet to GMX
You need to connect your wallet to purchase GLP tokens.
You can see the live price of the GLP token.
All set, now select >> Connect Wallet:

Then select >> MetaMask:

Your wallet is now connected to GMX. That means you can successfully purchase GLP tokens.
Step 4: Buy and Deposit GLP Tokens
This is the final step.
Once your wallet is connected. You can simply enter an amount of your choice to buy GLP tokens.

All set, this is what you were waiting for.
You can now deposit your GLP tokens in Olive’s Principal Protected vaults and get your base yield amplified up to 1.5x. .
Come back to Olive and select << GLP from the menu.
Next, simply click << Deposit to deposit your GLP tokens.

Bonus
Once funds are deposited in Olive’s GLP vaults, Olive will combine composability with structured products to deliver UNIMAGINABLE YIELDS!
After a few weekly cycles the magic happens:

Did I mention that there are no lock-in periods? That means you can withdraw ANYTIME!
You can click below to connect your MetaMask wallet with Olive and start earning big.
Well folks! That’s all for today.
We hope you enjoyed reading this article.
If you have any suggestions, queries, or love for us then drop a comment. Our experts would love to address your comments ASAP!
In the meantime, spread the word!
Peace Out!


First of all I want to say terrific blog! I had a quick question that I’d like to ask if you do not mind.
I was curious to know how you center yourself and clear your thoughts before writing.
I have had a hard time clearing my mind in getting my thoughts out.
I truly do enjoy writing but it just seems like the first
10 to 15 minutes are generally lost simply just trying to
figure out how to begin. Any ideas or hints?
Thanks!
Mostly it comes with experience. We prioritize an outline before writing. Plus, we try to ensure that readability is taken care of. A good content is determined by how beneficial it sounds to the end-user so always put yourself in the reader’s shoe while writing
This paragraph is actually a good one it assists new internet people, who are wishing for blogging.
My brother suggested I may like this website. He was once totally right.
This put up truly made my day. You cann’t consider simply how much time I had spent for this information! Thanks!
Thanks. It means a lot!
I was able to find good advice from your articles.
Thank you for your kind response